Hi everybody,
I know this topic is probably in the wrong section and its not a Merc, but I thought I would put this on so that people can see what it takes to make an interior of a car, and I put it here so that other members can reply and discuss, and it also brings another dimension to the forum........
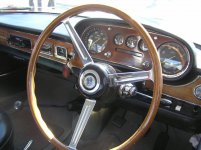
Ok, so this car is a late 60s Lancia, and im going to show you step by step what is involved in making an interior......
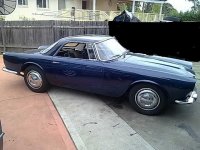
This is the car, and this is how it came to me

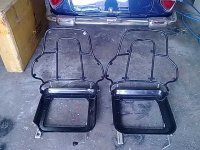
This is how the seats came to me, just frames
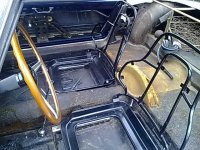
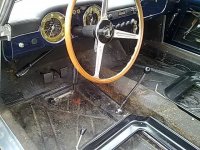
and just a pic of the floor, quite a difficult floor to do due to a very oddly shaped floor pan
The way the seats were originally designed made it quite difficult to get a really good fit of the leather cover, so some mods had to be made.....
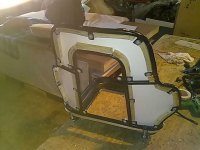
In the pic below you will see ive cut timber out and screwed it to the inside of the metal frame, this is so I have something to staple to instead of having to glue the cover into place which is highly time consuming and you will get a poor fit and by also screwing the timber on it allows me to staple the white backing board in place also.....
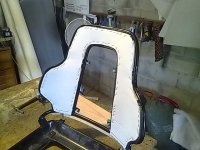
next job was to make the new back foam, I used Dunlop Enduro foam which is the best you can buy, I had an original seat to go off so I templated its shape, then traced it onto the new foam to get the new outline
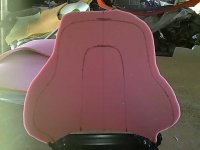
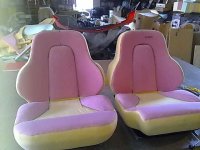
this pic is just showing the thickness of the new foam, I used the yellow foam as a firm base then the pink cos it was a bit softer
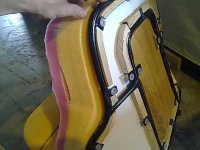
and showing the new foam basically finished
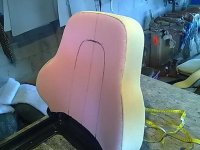
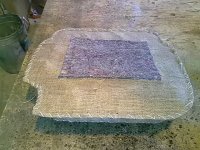
this is the spring base seat with new hessian sewn in
the new seats foamed up and ready to go, I use a drill with a very rough sanding disc on the end to shape the foam to how I want it...
the seat, back being sewn up, I had the piping shaved to make it thinner, a thinner piping is easier to sew up and also looks better
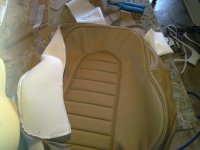
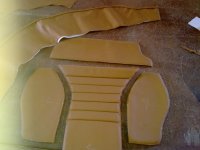
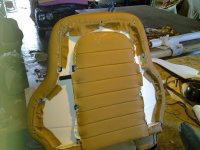
this pic just shows how the border is stapled off and the centre section has been inserted also, a lot of working of the leather is required so that no wrinkles can be seen when the outside back goes on
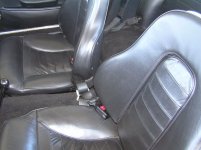
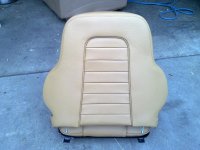
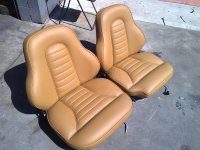
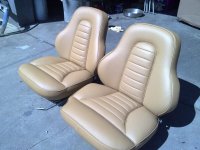
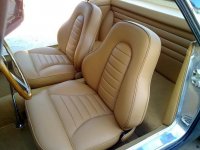
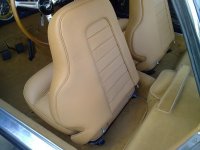
finished product after some 80hrs
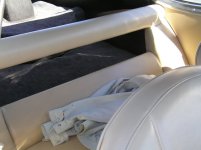
The making of the rear compartment
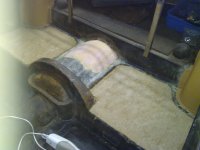
this is showing the rear wheel arches being covered in leather
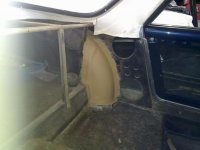
and here im preparing the floor for German Velour carpet, this was quite difficult, the floor pan was a terrible shape, so with some foam and felt here and there I was able to get a smooth flowing surface so there would be no kinks in the carpet
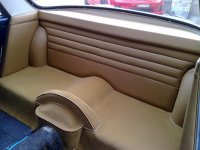
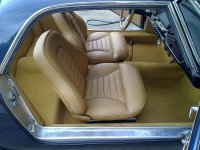
the rear compartment completed
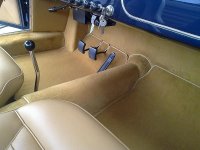
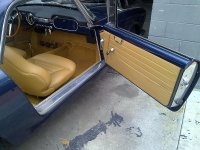
and the front floor carpeted, I bound the carpet with a vinyl binding with a blind stitch so you dont see the sewing, I then glued a 5mm layer of rubber to the underside of the carpet so that it will always stay flat and stiff so it never gathers up, and some blind press studs were used to keep the carpet in place
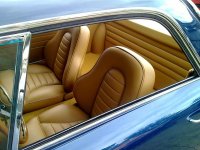
and the car completed
If you have any questions please feel free to ask
regards Brent
I know this topic is probably in the wrong section and its not a Merc, but I thought I would put this on so that people can see what it takes to make an interior of a car, and I put it here so that other members can reply and discuss, and it also brings another dimension to the forum........
Ok, so this car is a late 60s Lancia, and im going to show you step by step what is involved in making an interior......
This is the car, and this is how it came to me


This is how the seats came to me, just frames


and just a pic of the floor, quite a difficult floor to do due to a very oddly shaped floor pan

The way the seats were originally designed made it quite difficult to get a really good fit of the leather cover, so some mods had to be made.....
In the pic below you will see ive cut timber out and screwed it to the inside of the metal frame, this is so I have something to staple to instead of having to glue the cover into place which is highly time consuming and you will get a poor fit and by also screwing the timber on it allows me to staple the white backing board in place also.....


next job was to make the new back foam, I used Dunlop Enduro foam which is the best you can buy, I had an original seat to go off so I templated its shape, then traced it onto the new foam to get the new outline

this pic is just showing the thickness of the new foam, I used the yellow foam as a firm base then the pink cos it was a bit softer

and showing the new foam basically finished

this is the spring base seat with new hessian sewn in

the new seats foamed up and ready to go, I use a drill with a very rough sanding disc on the end to shape the foam to how I want it...

the seat, back being sewn up, I had the piping shaved to make it thinner, a thinner piping is easier to sew up and also looks better


this pic just shows how the border is stapled off and the centre section has been inserted also, a lot of working of the leather is required so that no wrinkles can be seen when the outside back goes on

finished product after some 80hrs


The making of the rear compartment
this is showing the rear wheel arches being covered in leather

and here im preparing the floor for German Velour carpet, this was quite difficult, the floor pan was a terrible shape, so with some foam and felt here and there I was able to get a smooth flowing surface so there would be no kinks in the carpet

the rear compartment completed

and the front floor carpeted, I bound the carpet with a vinyl binding with a blind stitch so you dont see the sewing, I then glued a 5mm layer of rubber to the underside of the carpet so that it will always stay flat and stiff so it never gathers up, and some blind press studs were used to keep the carpet in place

and the car completed


If you have any questions please feel free to ask
regards Brent

